


Planting from Seed
planting from seed
Many seed packs recommend starting indoors and transplant them into your garden 4-8 weeks later. While not absolutely necessary, there are a few reasons you will want to follow this recommendation when possible. Learn how and why to start seedlings indoors.
why start seedlings indoors?
Extend the growing season. Starting seed indoors give you a jump start on the growing seasons, allowing you to start growing the plant weeks before it's warm enough outside to plant. Many regions have shorter growing seasons, where the last spring frost is later (into May) and the first fall frost comes sooner (September/October). By starting indoors, you can 'extend' your growing season a few weeks earlier, and ensuring harvest before the first fall frost.
Improve seedling survival. For more delicate seedlings, starting seeds indoors ensures they grow strong roots and leaves before being exposed to the outdoor elements. These elements include cold, pests (you may have garden slugs and not know it, like me!), a heavy rain, dry conditions, etc. If started outdoors, you may get lower survival and success rate for some plants.
Save money and increase plant variety. Starting plants from seeds is much less expensive than purchasing transplants from a nursery. There is usually a wider variety of seeds to explore than there are available transplants. This is especially true for dye plants.
All this being said, there are certain plants that do not transplant well. When their root systems are disturbed, they may not survive. Make sure to read the seed packet, and avoid starting indoors any seeds that do not transplant well.
Ok, now that you have your seeds selected to start indoors, let's walk through planting them!

Step 1: Collect Supplies
You'll need:
- Seeds
- Soil - indoor potting mix
- Seed starter containers
- Wooden or plastic labels for seedling containers


Step 2: prepare your containers
Decide what you'll use for your seed starter containers.
Egg cartons, plastic or biodegradable peat planters, milk jugs, and juice containers are all acceptable. Any plastic, paper or biodegradable pot will work, as long as there are drainage holes.
It's best to be able to put your individual starter pots in a larger plastic trays or containers, even if you are starting seed outside when it's warm and don't mind the water leaking out the bottom. We'll get into why in Step 6.
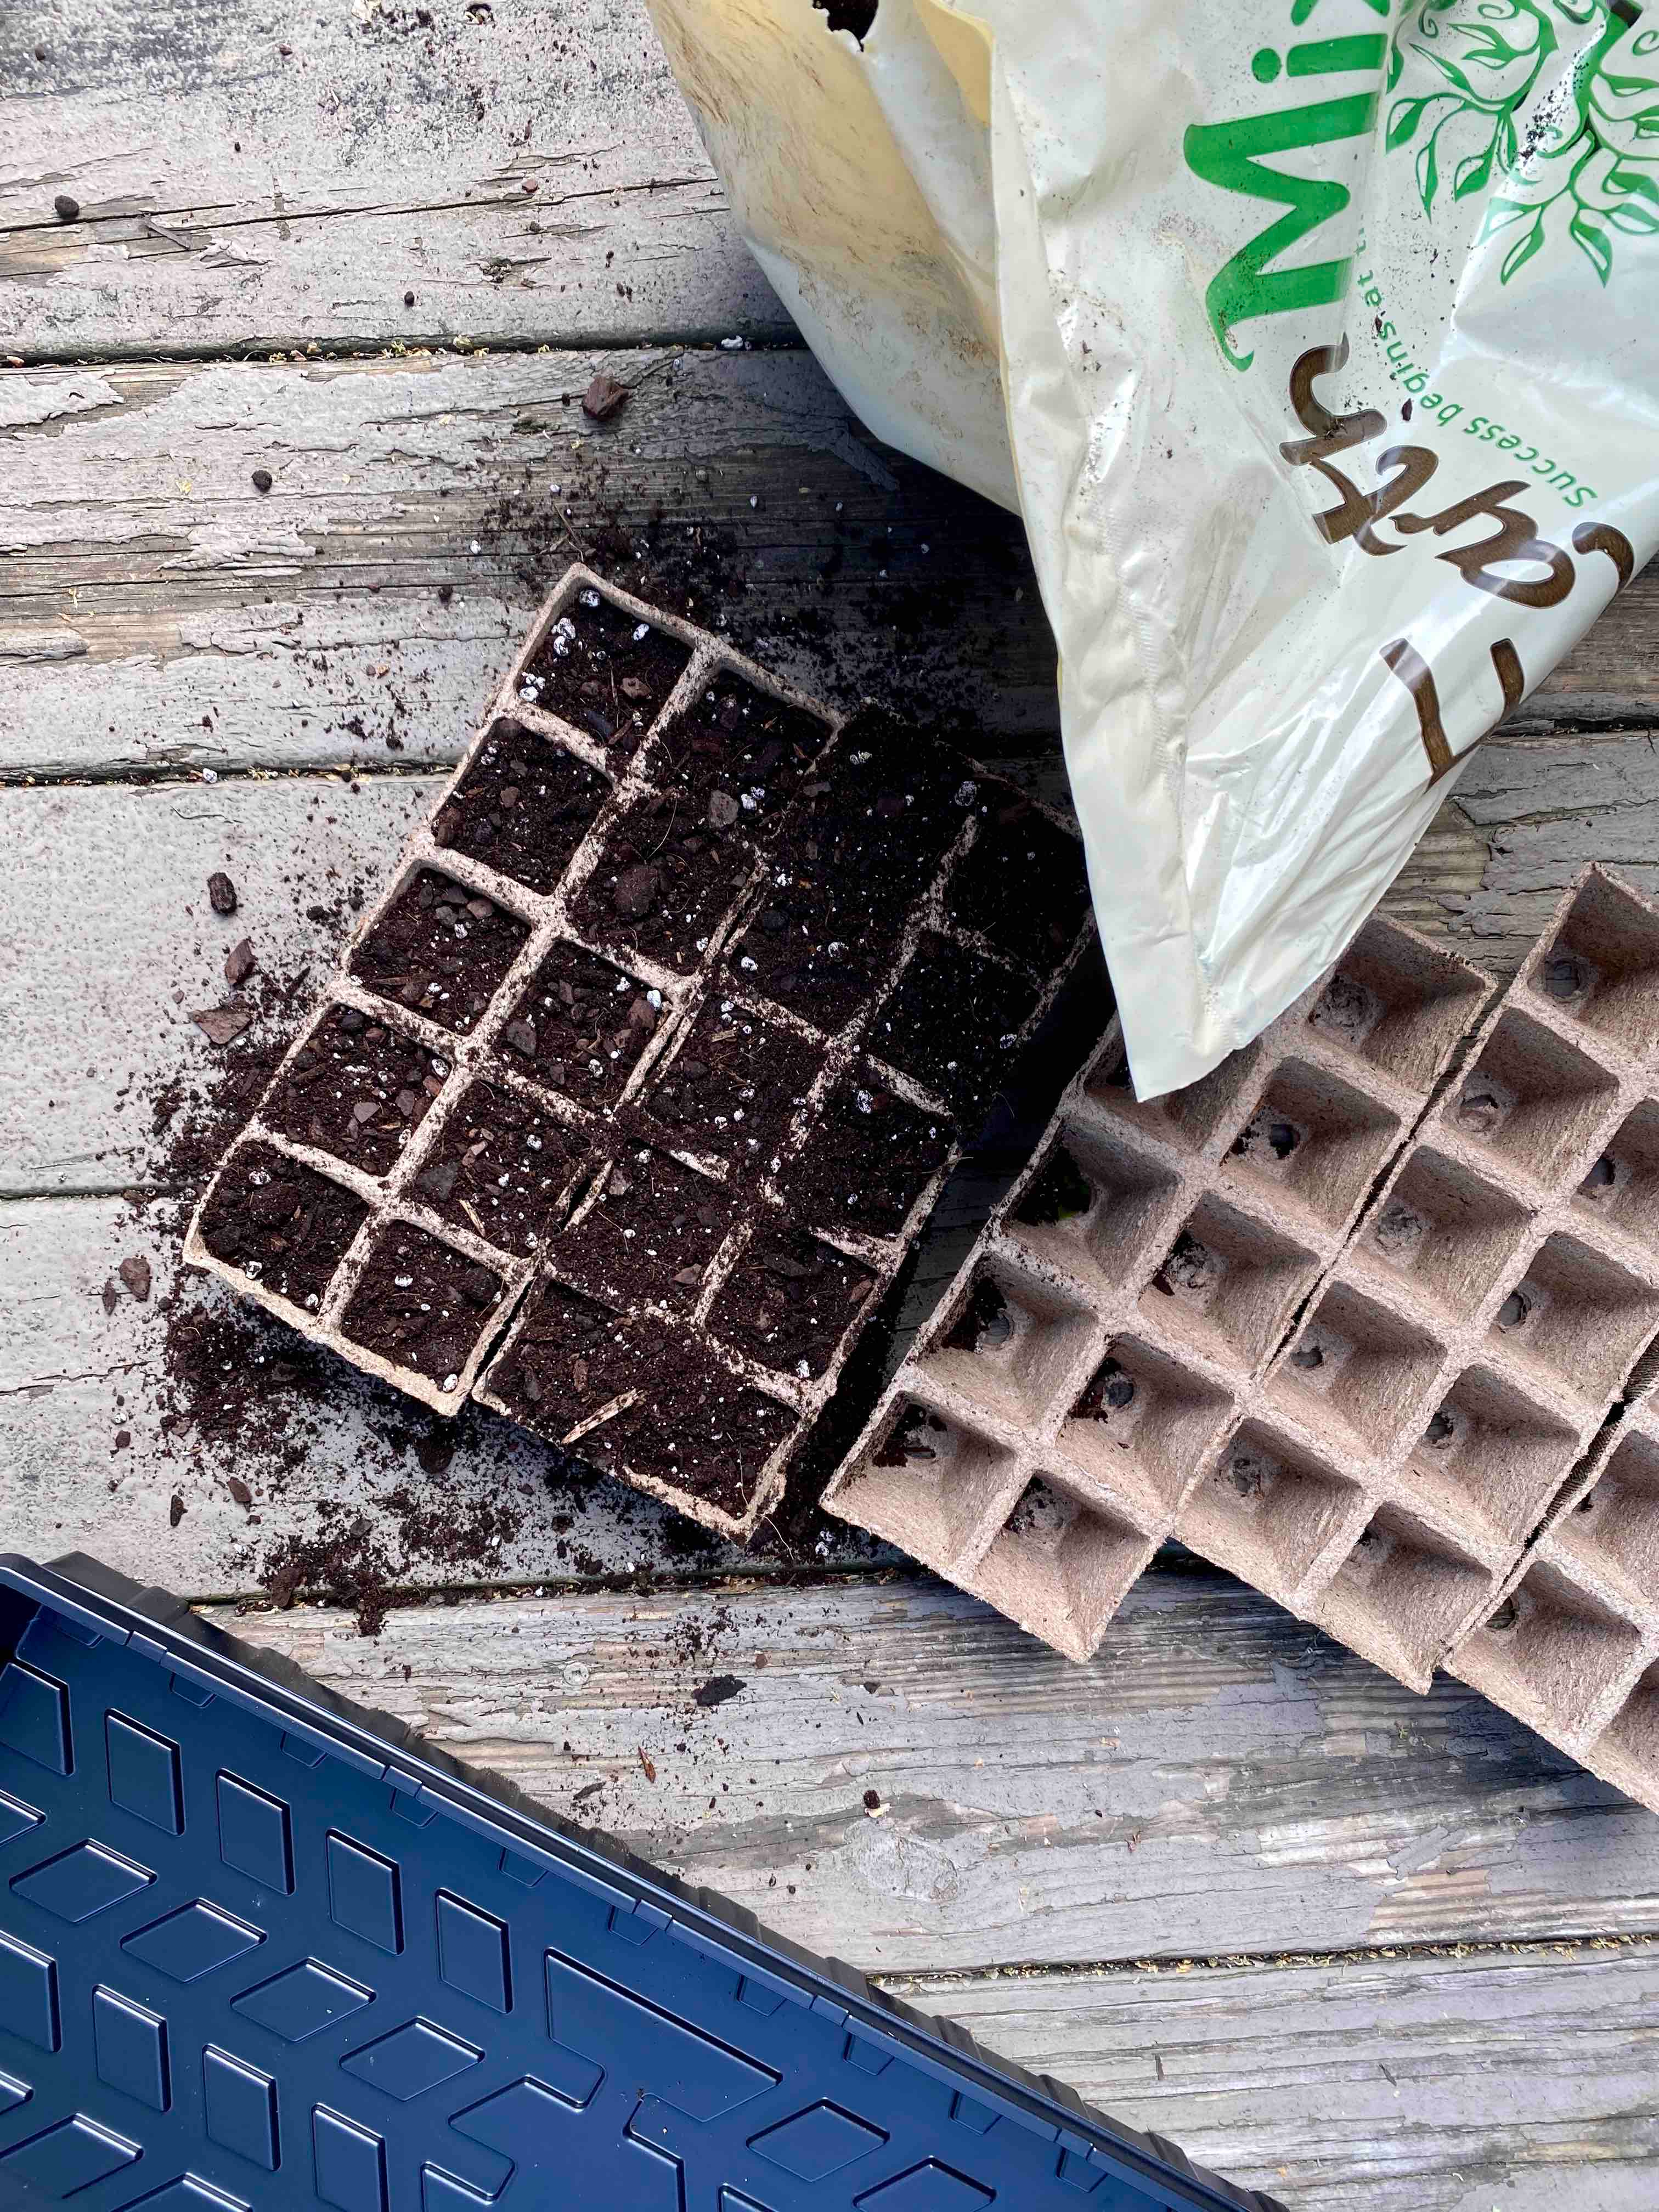

Step 3: prepare your soil
Pour out a pile of indoor potting soil, pour water on it and mix until wet. It should be manageable but not runny.
Make sure you're not using top soil or other dense garden soil for your seedlings. This soil can be too heavy, and prevent germination and proper drainage.
Fill your containers with the wet soil, and leave about 1/4 inch between the soil and the top of your planting container.
Step 4: prepare your seeds
Organize your seeds before planting. Only start seedlings that recommend starting indoors or can handle transplanting.
If you are using trays/flats, try to plant seeds in the same flat that will germinate and/or be ready for transplanting around the same time.
For example, I planted tomatoes, basil and acorn squash in the same flat, and several dye plant flowers in another growing flat.
Step 5: plant and label seeds
Plant seeds the quantity and depth recommended on the seed packet.
If it recommends 1/4 inch depth, simply place seeds on top of your prepared soil. If it recommends deeper than that, create an indent with your finger to the recommended depth, and place your seed in the soil indent.
Cover your seeds with 1/4 inch of the prepared wet soil.
IMMEDIATELY label what you planted in a row. I promise you will not remember!


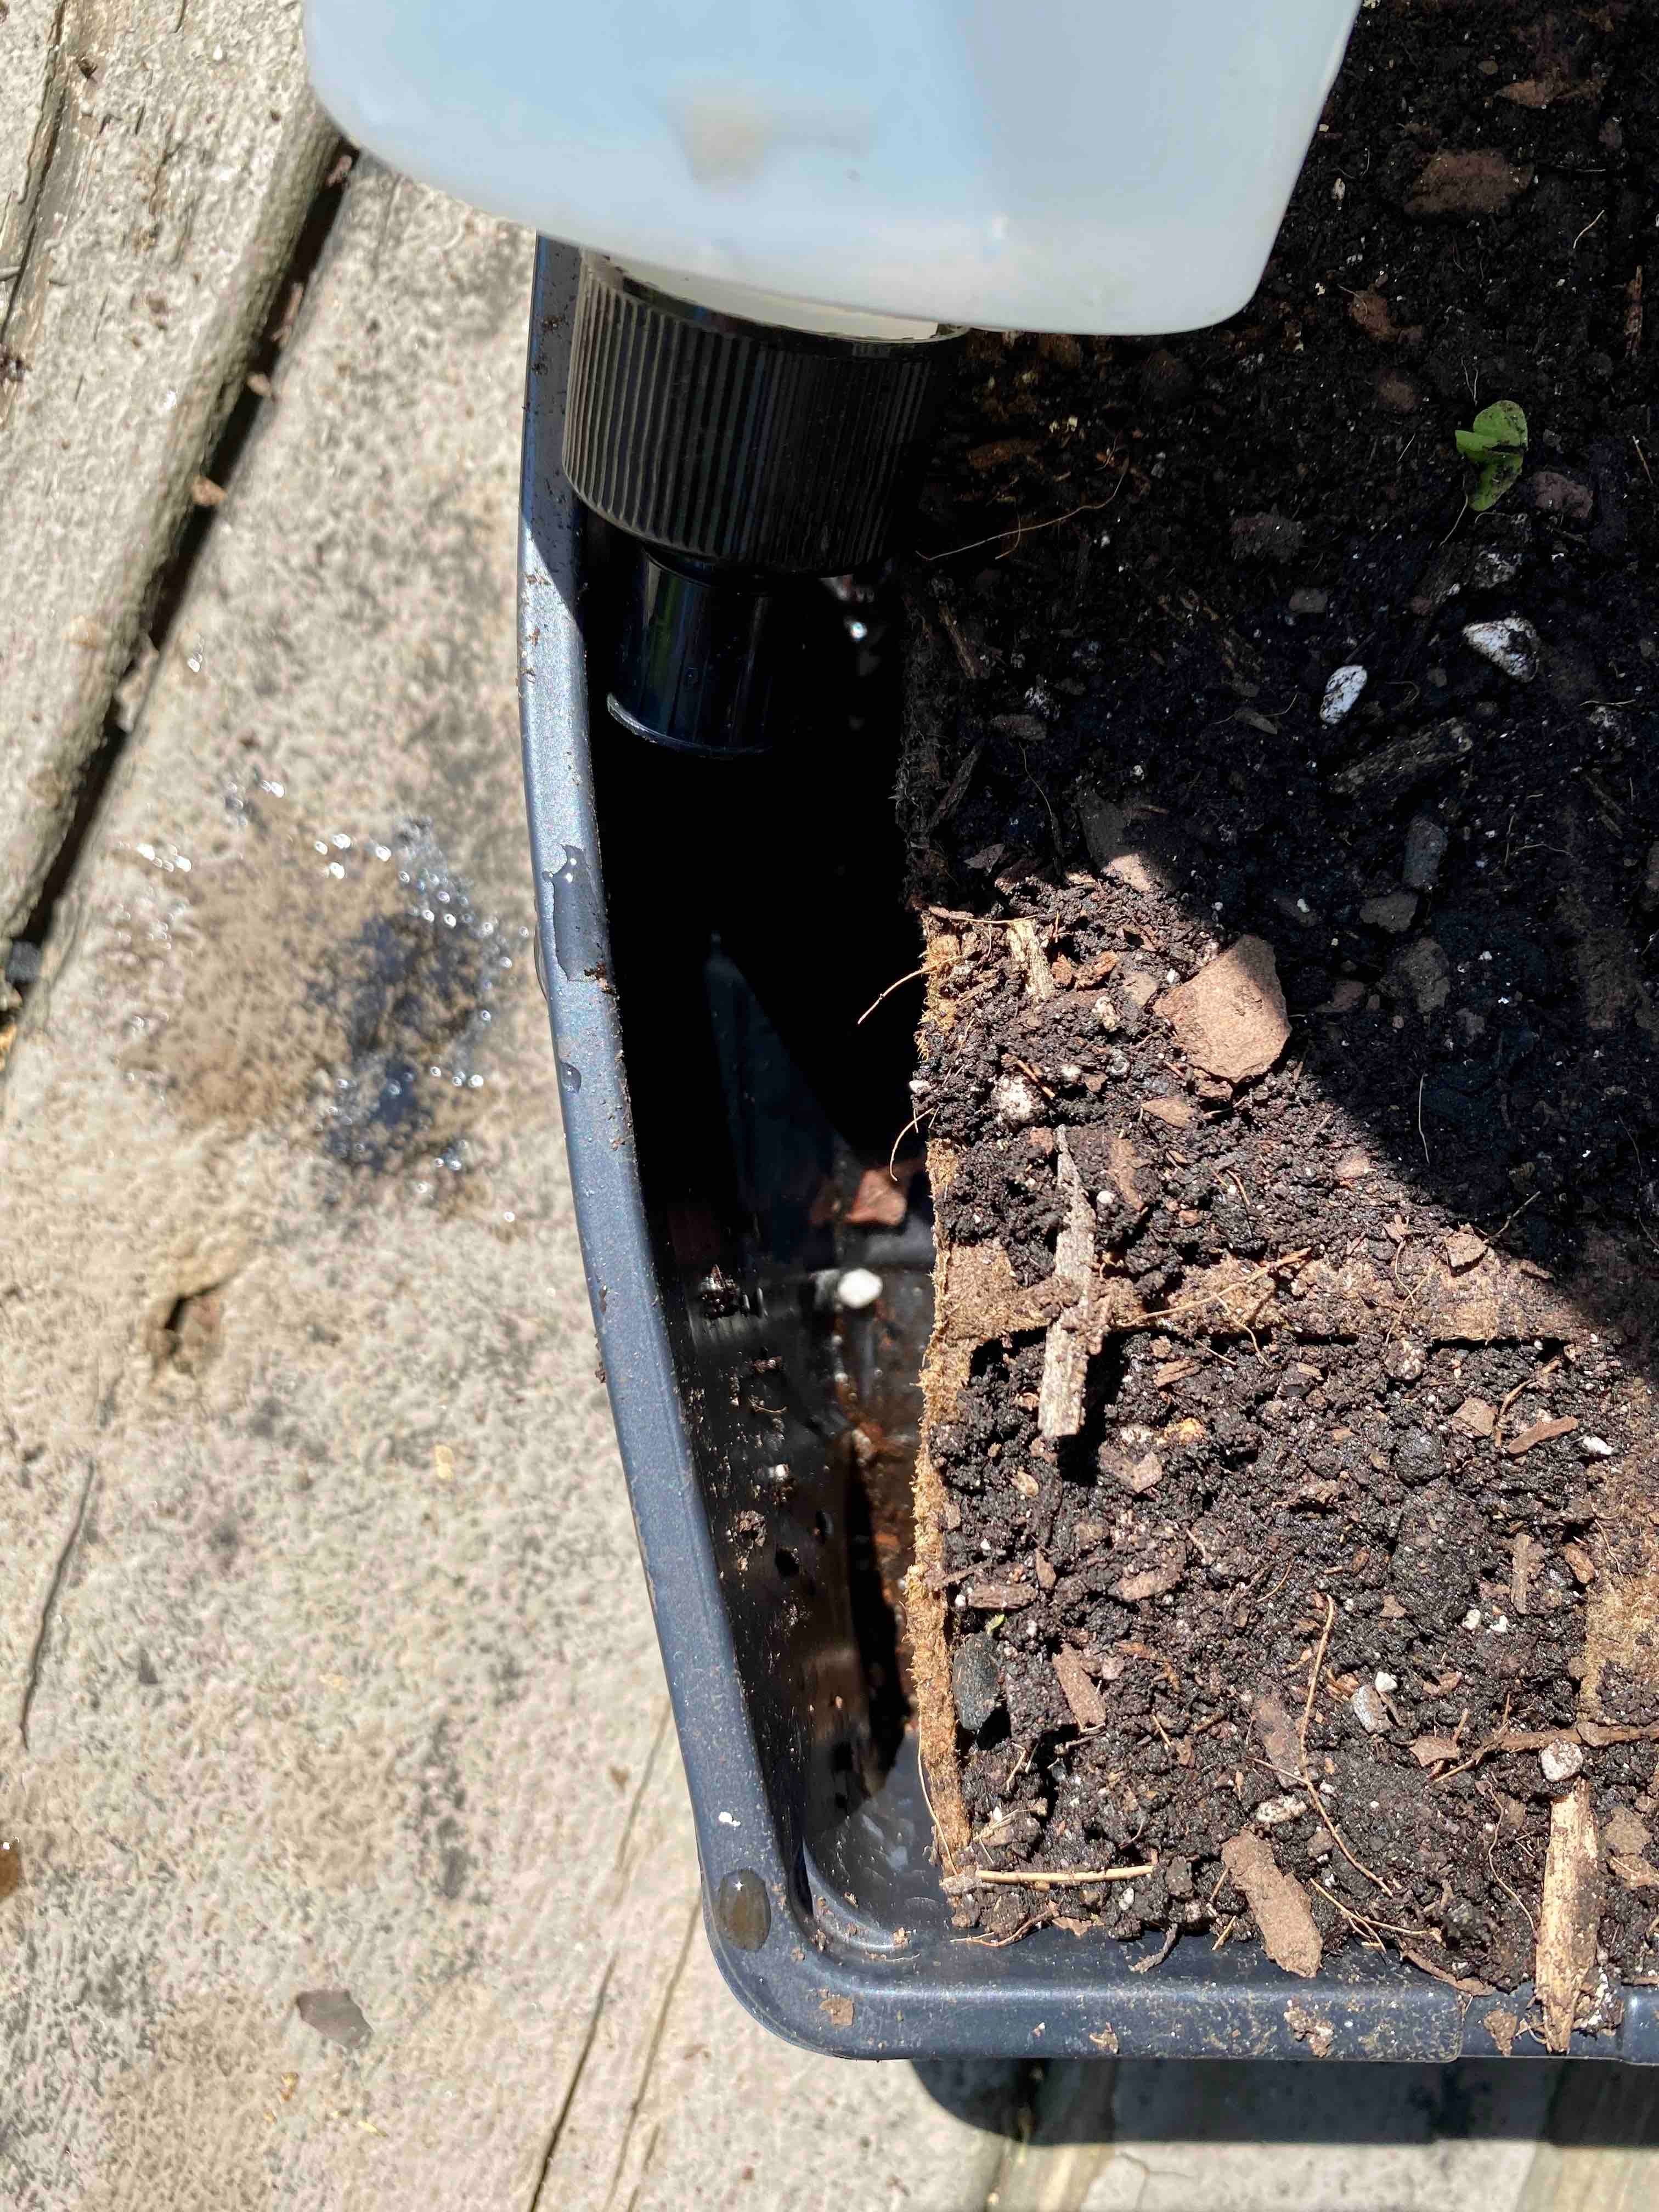
Step 6: water carefully and regularly
Water daily or every other day if very damp. For the first week or two prior to germination, heavy or too-much-too-fast watering can disturb your seedlings.
You may want to water from the bottom and/or with a spray bottle, then transitioning to using a watering can after germination.
What is watering from the bottom? Using a squirt bottle or other water container, pour water into the bottom of your plastic flat holding your seedling containers. The water will travel up the drainage hole and into the soil, watering your seeds from the bottom. You can then moisten the top of your soil with a spray bottle.


Step 7: keep warm
If it's early in the season or before the last frost, you will need to keep your seedlings inside.
Be sure they get enough sunlight through an open window, use a grow lamp, or put them outside on warm days.
If you plants get leggy (tall, skinny and weak), check out this post on leggy seedlings for next steps.
If you keep your seedlings indoors for most of their initial growing period (4-6 weeks), you will want to 'harden' off your seedlings outside before transplanting. I'll explain this step in a future post about transplanting seedlings.
MY CONFESSION
This is where I make a confession: I do not start my seedlings indoors.
If it's after the last frost, or in the middle of a warm growing season, you can keep your seedlings outside. Keep them covered from heavy rains and winds, and water daily. I plant and care for all my seedlings outside on a table, protected from wind and rain, and being them inside if a frost is coming. Some seedlings germinate slower since it is cooler outside, but they always germinate eventually. I have found that having my plants outside when it's still cool with lots of sunlight makes them much more successful than indoors without sunlight.
STEP 8: THIN OUT AFTER GERMINATION
Some seeds won't germinate. Many will. If you end up with more than 2-3 seedlings per pot, thin out your seedlings to allow the strong ones to grow bigger. Otherwise, they will compete for light, water, and nutrients. You should have 1-3 seedlings per pot.
If you are planting in a flat or larger container without individual pots, simply thin your seedlings to 1-2 inches apart to allow individual ones to grow.
If seedlings are very crowded as they get bigger, repot your seedlings individually into larger pots before transplanting.


The first leaves that emerge from the seed are called cotyledons. They are a part of the seed's embryo, and provide the first nutrients to the seedling until the plant's true leaves start to grow. They usually look very different from what the 'adult' plant leaves look like. You will start to see the first true leaves emerge a week or two after germination.
Continue watering daily to every other day. At this point, you can water from the top using a watering can or water from the bottom.
Your seedlings are generally ready to transplant 4-8 weeks after planting. Read the seed packets for directions on specific plants. We'll talk about transplanting your seedlings into larger outdoor containers and directly into garden beds in future posts.
Happy planting!


Leave a comment