


How To Transplant Seedlings
how to transplant seedlings
You purchased your seedlings or started them from seed. Now what?
Seedlings From a Store
Seedlings purchased from a nursery or hardware store are ready to transplant right away, but you can wait a few days or weeks before putting them in their new permanent spot. Be sure to water them regularly and give them plenty of sunlight until ready to transplant.
Seedlings You Started
If you start from seed, wait 4-6 weeks from planting. At this point, your seedlings first true leaves will have developed. I recommend that you have at least 4-6 true leaves on your seedling before transplanting. True leaves are different from the very first baby leaves that appear on your plant, called the cotyledon.
If you started from seed and your seedlings are still very small even at 6 weeks, you may need to transplant them into larger pots before putting them in their final growing spot. When transplanting into containers, the small transplants will likely be ok.
Before You Transplant to a Container or Garden Bed
Make sure you use potting soil or indoor soil for your container pots. Potting soil is looser and drains better, ensuring proper moisture control so your plants roots are getting enough water, and the water does not sit too long and rot the roots.
If you're transplanting into a garden bed and want them to first get a bit bigger and stronger, you can transplant them into a slightly larger pot to give their roots more space to grow and leaves better access to sunlight.
When transplanting into a garden bed, any type of garden soil can be used. You can also use a 1:1 mixture of manure compost + top soil, mixing it together to make a strong garden soil. This option is often cheaper than garden soil. Garden beds can be raised, in-ground, or a hybrid of both.

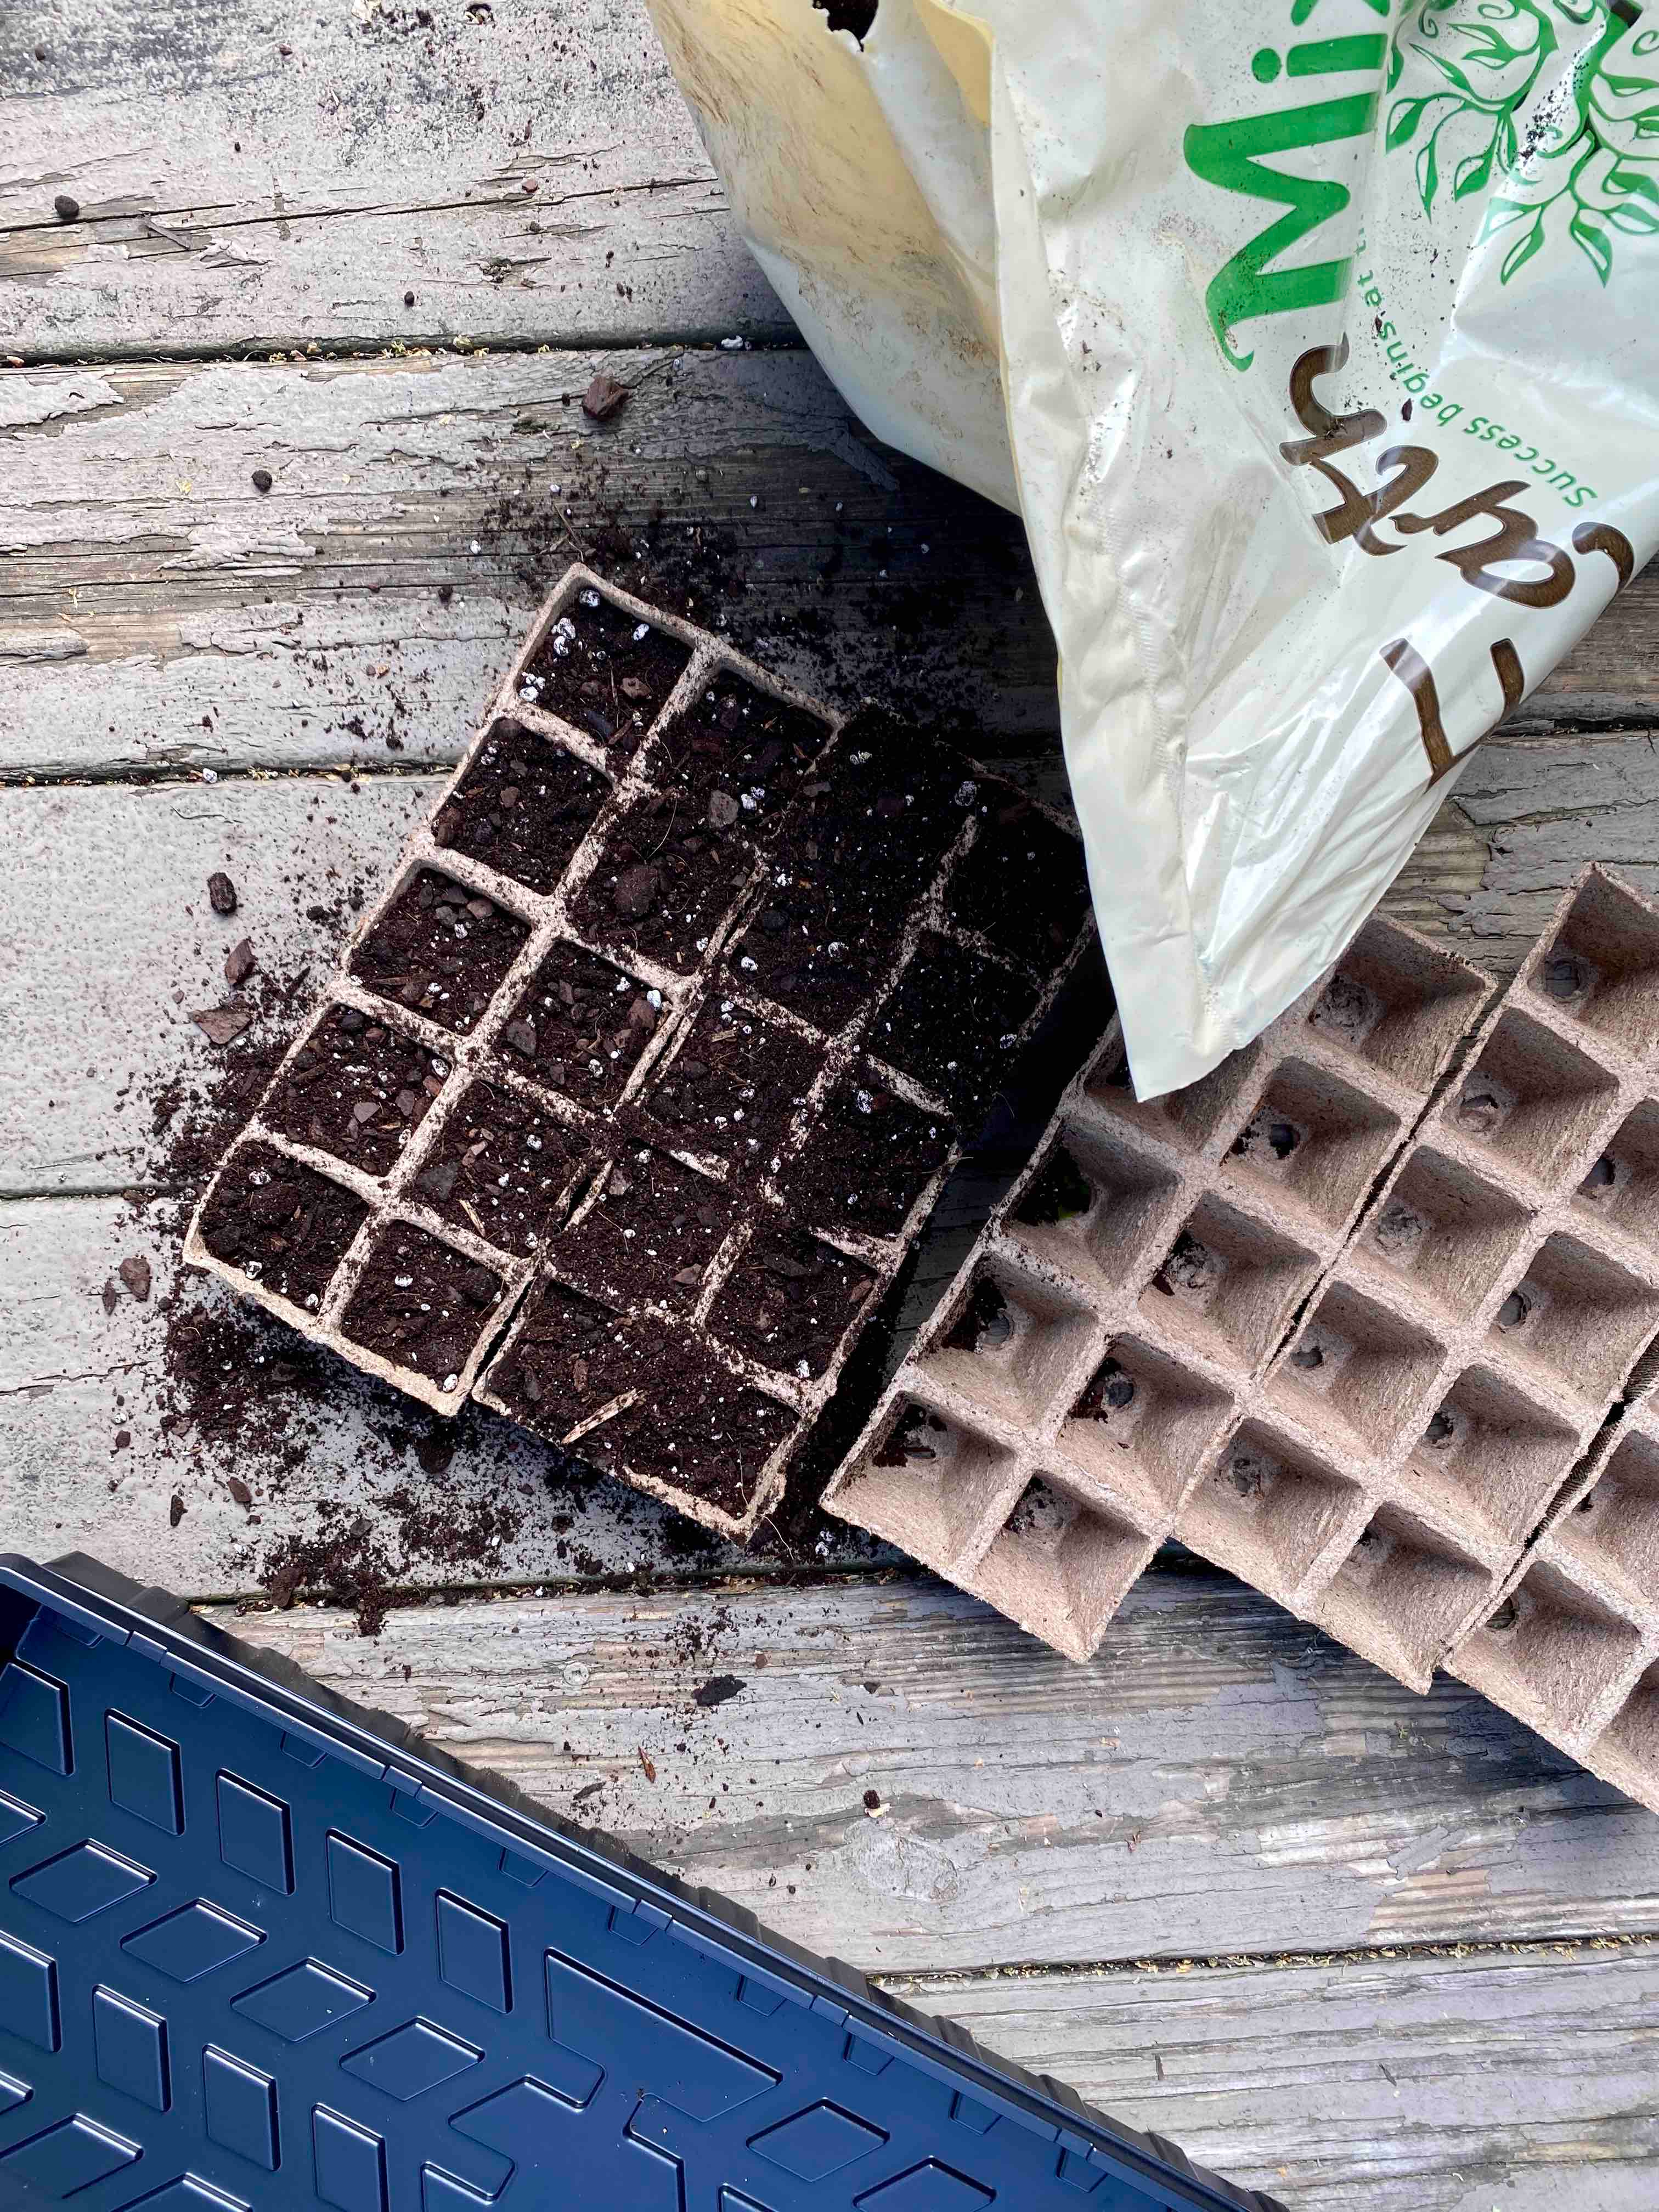
Step 1: Collect Supplies
You'll need:
- Transplants
- Soil. Indoor potting mix for pots, 1:1 compost:top soil for garden beds
- Optional: Seeds for companion planting


Step 2: plan your garden space
Before planting, the first step is to plan where you are going to transplant. Place your pots or seedlings on the spot where you plan to plant. This gives a visual of what it will look like, and ensures you have enough space for your plants in the container or garden bed.
Try to plant early in the morning later in the evening. Transplanting is stressful for a plant. Planting early or later in the day will protect your plant form the the added stress of heat and dryness of the middle of the day.

Step 3: REMOVE THE PLANT FROM THE POT
There are good and not-so-good ways to remove a plant from the pot.
If you are using peat or other earth seed pots, you can put the whole pot in the soil without removing anything. I still like to remove the bottom of my peat pots when transplanting.
When transplanting from a plastic or reusable pot, you'll need to remove the plant gently. Do not tug on the plant itself. This can disturb the roots, or damage stems and leaves. Instead, grab the pot and squeeze, gently loosening the soil and roots from the edges of the pot. Grab the top of the soil and root system at it shifts out of the pot.
Step 4: REMOVE THE ROOTS FROM THE BOTTOM 1/2 OF THE PLANT
This may seem destructive, but the first thing you do when the plant is removed is to pull off the bottom half of the roots and soil. This loosens up the root systems and promotes nutrient absorption and growth.


Step 5: plant your transplant
If you haven't already, dig the hole for your plant and make sure it's just deep enough to cover the roots and the first inch of the main stem. Cover the roots and first 1" of stem with soil.For wider/spreading plants like thyme or mint, the soil can just cover the roots.
Water well. If you live in a particularly dry area or are planting in the middle of the day, or you notice your freshly transplanted plant getting very droopy and dry, I recommend carefully removing the bottom 2-4 larger leaves closest to the stem. This will prevent excess water loss when transplanting and as the plant takes root. It does not look pretty, but I promise you'll be rewarded with strong growth and lush leaves soon.


optional: plant other stuff too
Did you know you can put plants pretty close together in the same pot or garden spot, and they will grow just as well or even better?
While two tomatoes need to be at least 18 inches apart, a tomato can be planted very close to basil, chives, lettuce, and others. This is called companion planting. It allows you to make better use of the space to plant more plants, and in my option, it's beautiful! A dense multi-level vegetable forest.
We'll get into details of companion planting in the Planning your Garden post. For now, here are a few examples of plants I put together in my containers.
Yellow Container: 1 tomato + 3 basil + scattered chive seeds
White container: 1 broccoli + 6 radish from seed
Others not pictured:
- 1 sweet pepper + 3 purple basil
- 1 sweet pepper + 3 mustards
- 1 tomato + scattered lettuce seeds
- 1 cucumber + 6 radish seeds


Leave a comment